From Black & White to Bokehful Color: Bringing Out the Background Blur in Old Photos
From Black & White to Bokehful Color: Bringing Out the Background Blur in Old Photos - The Art of Colorizing Backgrounds
When bringing an old black and white photo to life through colorization, the background is just as important as the main subject. Though the people in the foreground command the most attention, failing to properly colorize the setting and scenery can undermine the entire effect.
Many novice colorizers make the mistake of treating backgrounds as an afterthought. They exhaust all their effort making sure the skin tones, hair, and clothing of the main subjects appear realistic. Then, they hastily fill in the background with muted grays or drab blues and greens, not paying attention to lighting or perspective. This makes the photo look obviously fake and composited.
To make an old photo look authentic and atmospheric, you need to colorize the background with as much care as the foreground. Pay close attention to the original lighting and shading, and choose colors that complement the palette used on the main subjects. Think about what message you want to convey or what mood you want to evoke, and use color to emphasize that.
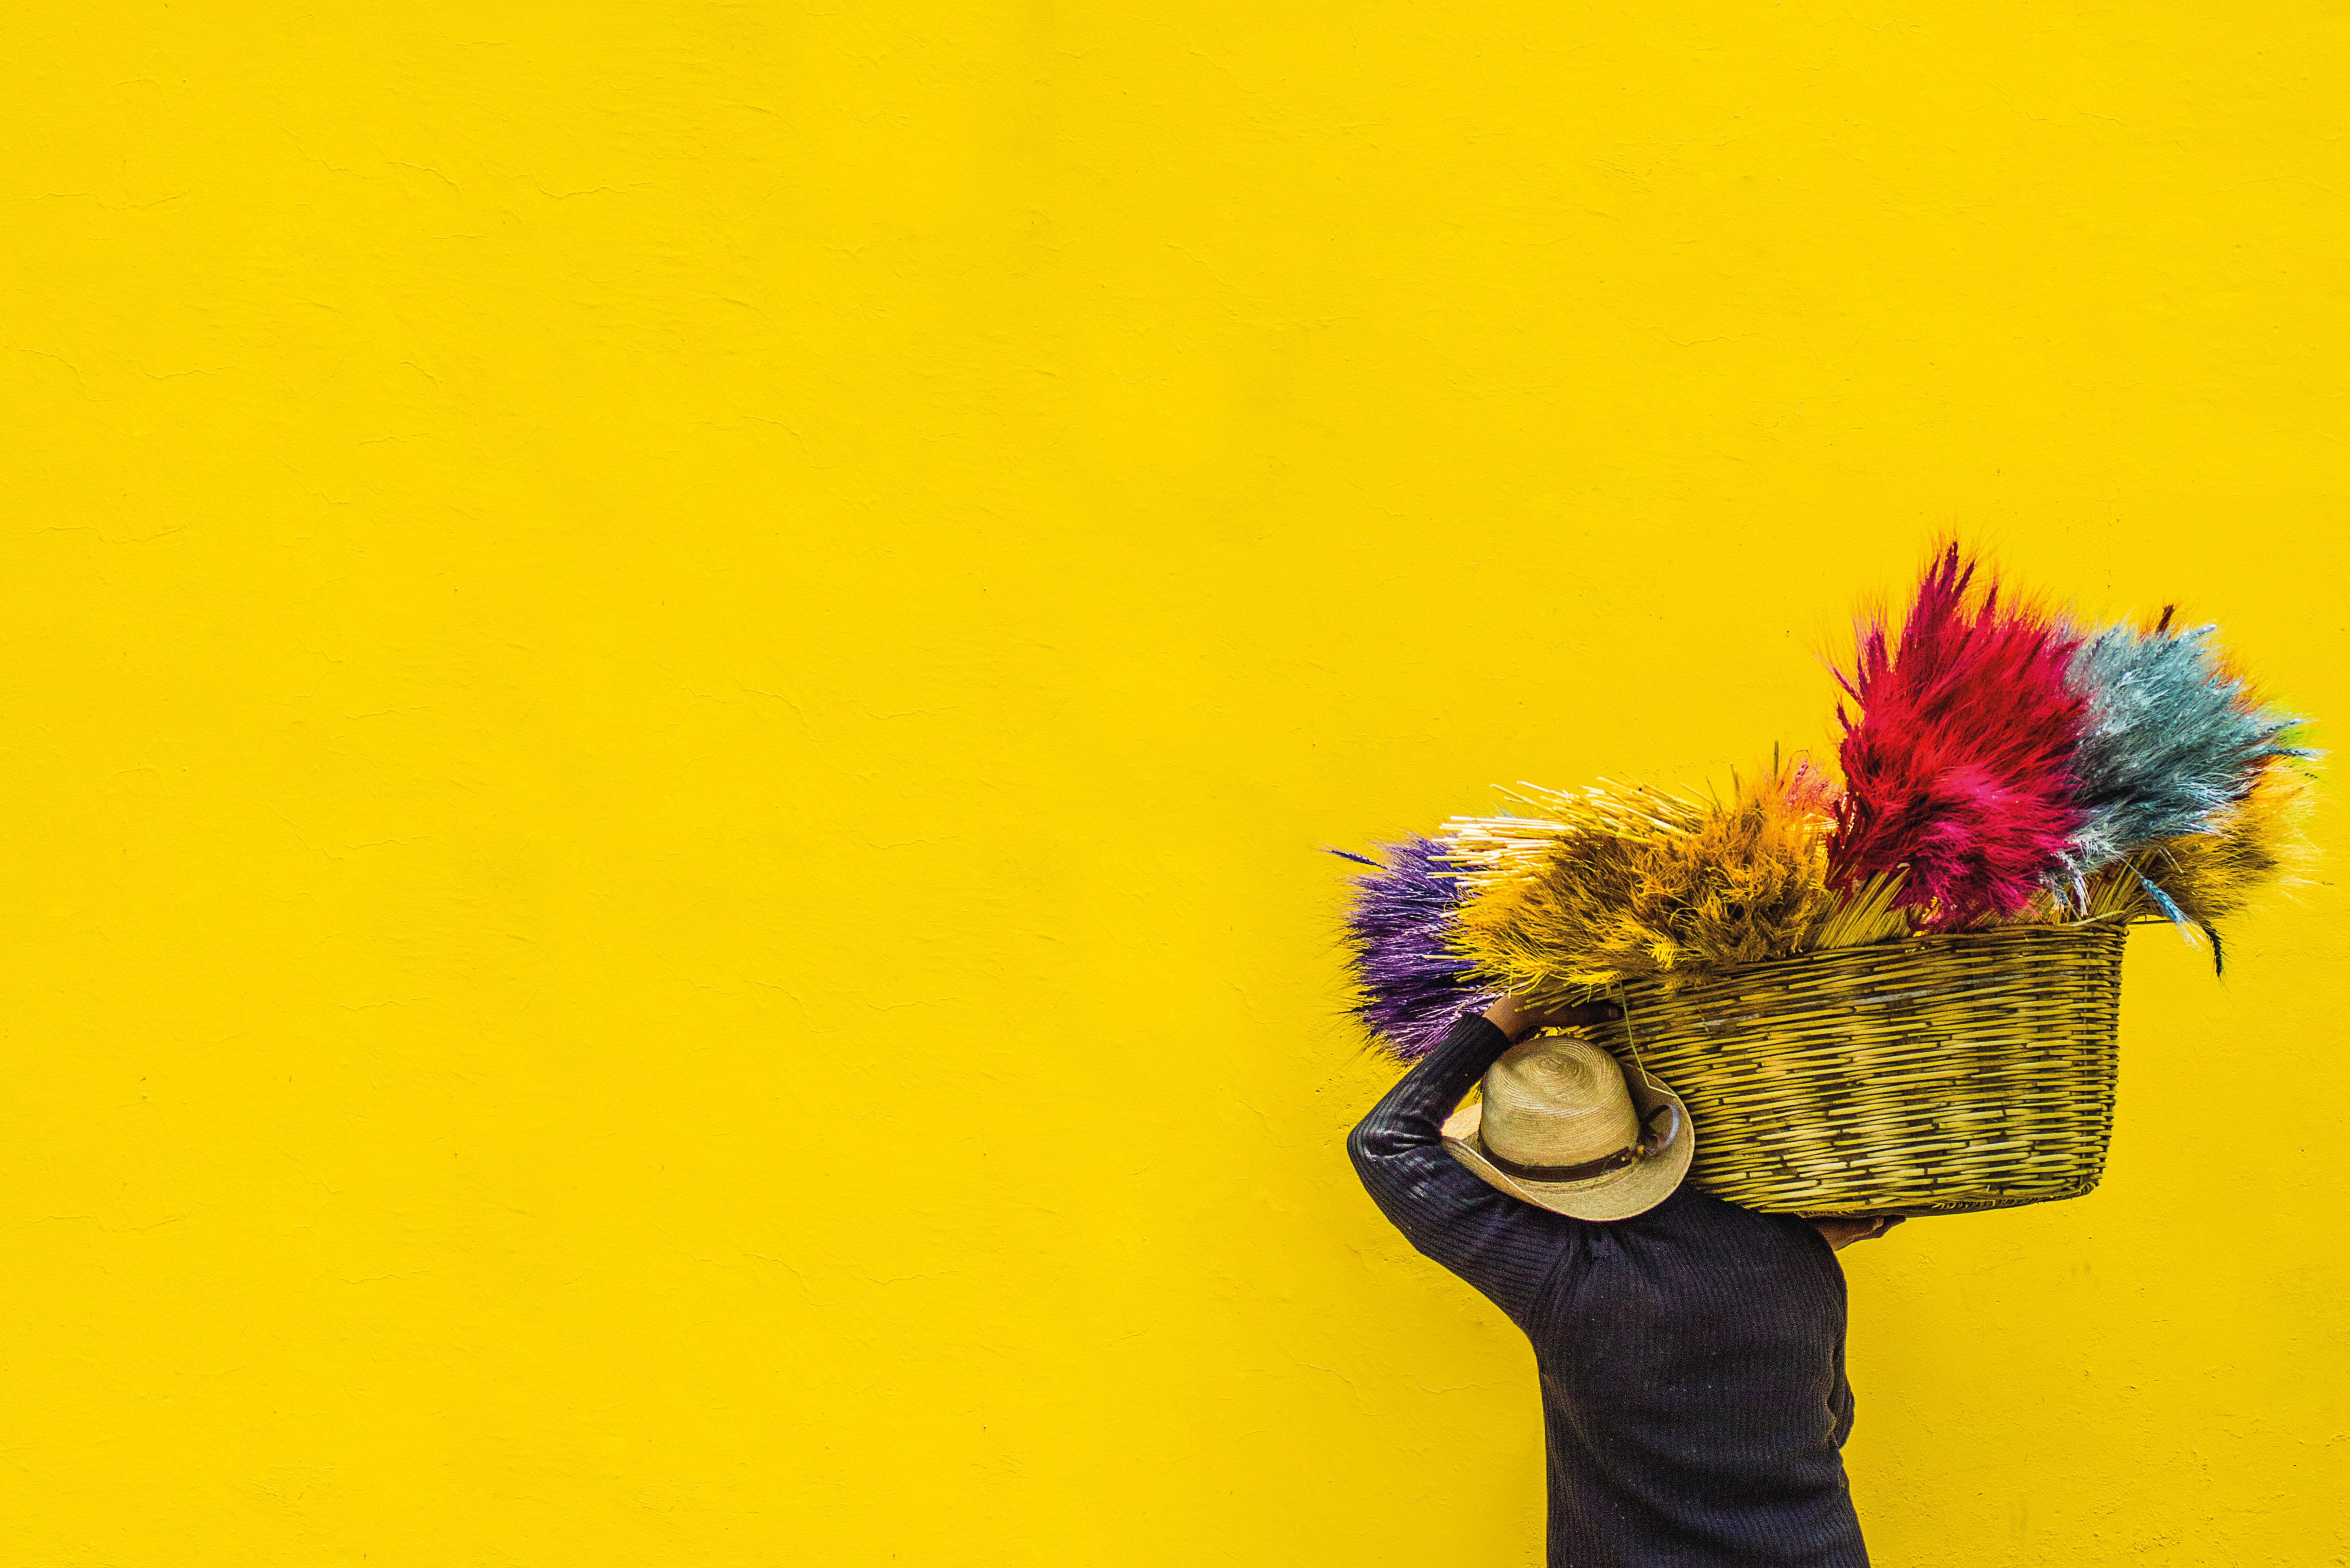
For instance, warm yellows and oranges can make a background cheery and nostalgic, while cool blues may lend a somber or wistful feeling. Greens and browns can create a natural, outdoorsy setting, while reds and pinks can make an indoor scene cozy and intimate. Always consider the original context and choose colors that transport the viewer to that time and place.
When colorizing backgrounds, it helps to blur or soften certain areas to mimic a shallow depth of field. This puts visual focus on the subjects while still providing an immersive, life-like environment. Subtle grain or noise effects can also lend an authentic film-like quality.
From Black & White to Bokehful Color: Bringing Out the Background Blur in Old Photos - Focusing On What's In the Foreground
When colorizing an old black and white photograph, it's easy to get carried away with the background details and neglect the main subjects in the foreground. However, the people, objects, and scenery in the foreground are the true focal points that viewers will be drawn to first. Putting thought and effort into colorizing the foreground ensures the final image has a natural, balanced look.
For portraits and group shots, meticulously colorizing skin tones, hair, and clothing is paramount. Study comparable color references from the era to pick realistic hues. Avoid broad generalizations - blonde hair doesn't necessarily mean platinum yellow. Look at subtle variations in lighting and shading across each person's face and body. Use warmer tones like peaches and tans on areas hit by sunlight and cooler blues and purples in the shadows.
Don't forget about accessories like jewelry, glasses, and hats, as these add character. For example, red lipstick and pearls instantly convey a glamorous 1940s vibe. Pay special attention to eyes, as providing nuanced color here makes subjects much more lifelike and expressive.
For photos featuring objects, carefully consider materials and textures. A shiny metal car body needs highlights and reflections, while a wooden table requires natural grains and knots. Think about how the foreground elements interact with light sources and shadows in the scene. Use desaturated neutrals on surfaces in shade and richer, more saturated hues on sunlit areas.
When colorizing scenery, depict foliage, water, and skies true to nature. However, also amplify color in select spots to create depth and draw the eye. For example, use vivid emerald greens on trees closer to the viewer that transition into bluer muted tones for distant treelines. To make a lake glisten, add reflections and blue/green variations that indicate ripples and waves. For extra realism, use a radial gradient to tint the sky bluer towards the top of the frame.
From Black & White to Bokehful Color: Bringing Out the Background Blur in Old Photos - Balancing Lighting and Shadows
Properly balancing lighting and shadows is one of the most important, yet tricky, aspects of photo colorization. The interplay between light and dark areas is what gives an image depth and dimension. Failing to get the balance right makes a colorized photo look flat and artificial.
When colorizing, you need to carefully study the original black and white image to understand where shadows logically fall. Pay attention to directional lighting and the positions of people in relation to light sources. Are they backlit, side-lit, or fully illuminated head-on? What surfaces or objects are blocking light to create shadows? Replicate the shadows as accurately as possible. Use a darker, muted version of the base color you chose for that element. For example, if you make a wall light blue, the wall's shadow should be a deep midnight blue.
At the same time, really bring out the brightness and saturation in sunlit areas. Laura Shoe, who colorizes historic photos, says she'll often go "lighter and more vibrant on the colors than expected" for lit surfaces and clothes. The contrast creates that film noir drama. For skin in sunlight, overlay golden orange hues to mimic the warm glow. On objects, add reflective white highlights. Vary the intensity of highlights based on the material - intense on chrome, subtler on cloth.
You can also use color itself to imply lighting contrasts. Jessica Drossin, known for her colorized pop culture images, says, "I like to use a lot of warm oranges and yellows in my highlights. It helps give the impression of sunlight streaming in. In shadowed areas, I'll mute those down to grays and blues." Such color tricks augment the feeling of natural light and dimension.
From Black & White to Bokehful Color: Bringing Out the Background Blur in Old Photos - Choosing Complementary Color Palettes
Selecting a cohesive, complementary color palette is imperative when colorizing old photos in order to create a natural, believable result. The human eye intuitively recognizes when colors work together in harmony. Mismatched hues paired randomly can end up looking garish and disjointed. Laura Shoe, a professional photo colorist, stresses the importance of choosing “a color palette that flows from light to dark seamlessly.”
When deciding on colors, first look at the original image’s tonal values. Are there dominant grays - blueish, greenish or reddish? Use these as a starting point. Jessica Drossin, known for colorizing history’s most iconic photos, says she picks a base tone that compliments the photo’s mood and era. For a somber wartime image, that might be subdued greens or cool blues. A glitzy Old Hollywood starlet could get a palette of bold reds and golds.
Next, find two or three accent colors that naturally complement the base tone. Referencing color theory helps. Adjacent hues on the color wheel, like blue and green, pair pleasingly. Split complementary shades, meaning hues opposite each other and an intermediate third color, also work. Drossin notes that warm accent colors like peach bring out natural skin tones against a cooler blue base. For a multi-person photo, tie disparate elements together through repeated colors in clothing, backgrounds, and lighting.
When applying the palette, use softer, more muted versions of accent colors in shadows to create a continuous look. Reserve the boldest shades for highlights on focal points. Go for higher color saturation on elements nearer to the viewer and desaturate further away to simulate depth. Vary saturation across large areas like walls or water to make surfaces look textured and layered. Most importantly, fine tune the palette until colors unify into a harmonious scene.
Subtle color gradients also help Images look more natural. Drossin expresses a preference for “using a wide spectrum of shades and tones within the same family” rather than flat blocks of solid color. For a blue sky, gradually transition from light cyan at the horizon to richer navy near the top. On fabrics, inject multiple hues like defining plaid with alternating shades of red and green. Apply the colors with a soft digital brush to create authentic texture.
From Black & White to Bokehful Color: Bringing Out the Background Blur in Old Photos - Mimicking Depth of Field Effects
When colorizing old black and white photographs, recreating a shallow depth of field effect can add impact and focus the viewer's attention. Depth of field refers to the zone of sharpness within a photo - what's in crisp focus versus what fades into artistic blur. Photos with shallow depth of field have just the main subject in sharp detail while the foreground and background turn soft and dreamy. This creatively simulates how our eyes see. It's an extremely popular technique in portrait and still life photography.
Colorization artists like Elinor Carucci praise shallow depth of field for "directing the viewer right where you want them to look". When colorizing an old photo, thoughtfully adding depth of field effects helps guide the viewer's gaze and replicate a professional camera lens. To pull off the look convincingly, the sharp area of focus must align with the original image's center of interest. For a close-up portrait, colorize the subject's face in intense detail then gradually wash the hair and shoulders into pastel blurs. Still life images lend themselves to dramatic focus falloff - as objects recede into the distance, dial down saturation and details until they dissolve into abstraction.
Achieving smooth, gradual focus transitions takes patience. Avoid harsh lines between sharpness and blur. Jessica Drossin, known for colorizing iconic images, recommends "using a lot of different sized soft brushes when applying the blur" to make it look natural. She adds both Gaussian and motion blur effects in layers, subtly tweaking settings to build up the right degree of softness. Radial blur filters can also mimic the oval bokeh shapes produced by wide aperture lenses.
When adding artificial lens blur, ensure colors remain cohesive. Drossin says, "I try to make sure my blurred colors are still in the same family and hue" as the focused elements. For example, blur a yellow dress into pale creams rather than disjointed purples. Match the intensity of blurred backgrounds to the foreground too. A brightly lit subject paired with muted blur looks obviously edited. Light and saturation should be consistent throughout to maintain realism.
From Black & White to Bokehful Color: Bringing Out the Background Blur in Old Photos - Emphasizing Subjects Through Selective Colorization
Selectively colorizing the key focal points in an old black and white photograph is an effective technique for drawing the viewer's eye exactly where you want it to go. When everything is desaturated except for a few strategic elements, those vibrant colorful pops immediately attract attention. Photographers and graphic designers have long applied this principle to guide the gaze, create emphasis, and breathe life into images.
Colorization artists utilize selective color as a tool for singularly highlighting the main subject against more subdued backgrounds. As photo colorist Romana Roozbeh explains, "You can use selective color to isolate the focal point that tells the story you want to convey and make it stand out." When faces or figures are rendered in vivid, saturated hues while the rest remains black and white, the contrast naturally spotlights the person's importance.
This approach works equally well when colorizing objects or specific details. Jessica Drossin, known for painstakingly colorizing iconic historic photos, will often "use selective color techniques to make small but meaningful details jump out," like the red cross on an ambulance or a colorful cocktail glass at a bar. Color draws the viewer's gaze to these narrative elements essential for immersing them in the scene.
Selective colorization can also guide the eye through progressive reveals that build anticipation. Drossin says she sometimes starts by restoring only a touch of color to pique interest, perhaps a person's blue eyes, gradually layering in more until finally the whole image dazzles in full color. This engages viewers as they actively participate in watching the photo come to life.
When colorizing just a portion of an image, you still need to stick to an overarching cohesive palette so the added hues make visual sense. Aim for colors that complement the existing black and white tones. Drossin explains her approach: "If I am selectively colorizing red elements, I will look at the luminance values of the greys in the black and white version, and choose reds that have similar luminance." This helps the selective color feel integrated rather than arbitrarily overlaid.
From Black & White to Bokehful Color: Bringing Out the Background Blur in Old Photos - Recreating Film Grain for Vintage Appeal
When colorizing old black and white photographs, adding a subtle film grain effect can lend an extra touch of vintage authenticity. Modern digital images tend to have a smooth, sharp look. But photos from the early-to-mid 20th century inherently captured the soft grain and textured imperfections of analog film. Replicating a bit of this retro graininess helps capture the nostalgic aesthetic of the time period.
Lauren Greenfield, an award-winning documentary photographer known for colorizing archival photos, stresses the importance of mimicking original film stock. She notes, "If it’s 35mm, I might add some grain. If it's 4x5, it will have less grain but still have beautiful resolution and depth." Analyzing the amount of visible grain in the black and white original provides clues on the intended look. Higher ISO film tends to appear more saturated and coarsely grained, while larger format negatives render finer detail.
There are a few non-destructive ways to recreate era-appropriate film grain that can be adjusted in layers. One method is to overlay a grain texture as a blending mode like Soft Light or Overlay at an opacity around 10-15%. There are grain pack downloads that emulate different film looks. Matt Loughrey, who colorizes history's most iconic images, suggests tying the grain's hue to the photo's dominant tones. For a sepia-toned image, use an earthy brownish grain. Give a cooler toned photo a subtle blue grain.
Another technique is adding Gaussian noise, calibrated based on the film format. Around 2-3% noise approximates 35mm grain. For medium or large formats, dial it down to 0.5-1%. The noise can be modified separately in highlights vs. shadows for greater realism. Applying this as a smart filter lets you adjust opacity and tweaking as needed. A high pass filter is another non-destructive option for bringing out texture based on tonal variations already present.
Some colorists say a light touch is best when recreating film grain. "You want just enough grain to convey authenticity, but not so much that it obscures intricate details," notes photo restorer Ruby D'Ath. When colorizing important faces and objects, err on the subtle side for optimum clarity.reserve heavier grain effects for less critical backgrounds. Building up the texture in gradual layers allows carefully calibrating the desired vintage look.
Grain effects should be the final flourish when colorizing, as applying them too early can interfere with the colorization process. Matt Loughrey explains, "You have to add grain at the very end, after sharpening. Adding it at the start almost camouflages details." Saving it for last ensures the nuanced color work remains fully visible before giving the image that nostalgic filmic feel.
From Black & White to Bokehful Color: Bringing Out the Background Blur in Old Photos - Enhancing Mood and Emotion with Color Choices
Color is incredibly powerful when it comes to evoking emotional responses or setting a psychological tone. When colorizing old black and white photographs, deliberating choosing a palette based on desired mood can amplify the image's impact and immediately convey meaning to the viewer.
Lisa Holloway, who colorizes historic photos at the Library of Congress, explains how strategic colors can spotlight a photo's poignancy: "With an image of civil rights marchers being sprayed with fire hoses, I used a lot of really intense reds and oranges to heighten that sense of danger and violence." The fiery hues make the scene feel explosive. For a melancholy scene, Holloway says she might use "a lot of blues and grays to emphasize that sense of gloom and sadness."
Jessica Drossin, known for adding color to iconic pop culture images, also thinks about implied narratives: "I colorize in ways that maximize the storytelling and emotional engagement." For example, with the famous V-J Day kiss photo in Times Square, Drossin opted for patriotic red, white and blue hues "to capture exhilaration of the end of WWII." Choosing a palette symbolic of celebration and national pride amplified the uplifting spirit.
Color choices can also reflect cultural associations and mental imprints. Cold, pale tones tend to read as bleak, whereas warm, saturated hues feel lively and optimistic. Ruby D'Ath, who transforms archived photos through color, finds earthy 1970s palettes immediately transport viewers to that groovy era. Vintage travel posters colored in sunset oranges and beachy aquas evoke a sense of exotic locales and tropical paradise.
When deciding on colors for an emotional impact, it helps to research color psychology. Red stimulates excitement, blue induces tranquility, yellow boosts cheer. Complementary color schemes like blue and orange feel bold and energetic, while analogous palettes like shades of blue-violet are more calming. Colors also carry symbolic significance - purple connotes luxury, green implies natural purity. Understanding these factors allows playing up desired vibes.
However, color psychologist Angela Wright warns that emotional responses depend on many factors, not just hue. "The same color can have very different meanings depending on how you apply it," she cautions. "It's about looking at the whole composition." Saturation, lightness, and textures interact with colors to shape impressions. A bright, heavily saturated red looks intense alongside muted grays. But paired with equally saturated greens, the red may shift to feel quirky and whimsical.
More Posts from colorizethis.io: