Step-by-Step Guide Using GIMP's Foreground Select Tool for Clean Background Removal in Portrait Photography
Step-by-Step Guide Using GIMP's Foreground Select Tool for Clean Background Removal in Portrait Photography - Setting Up Your Workspace With GIMP Tools And Alpha Channel Options
Before you start removing backgrounds in GIMP, you need to get your workspace ready. This involves a couple of essential steps. First, you must add an alpha channel to your image. The alpha channel is like a hidden layer that controls transparency, meaning you can see through parts of the image you've edited. Without it, removing a background is impossible.
Having the right tools visible and ready is also crucial. The toolbox and the Layers dialog are your primary companions in GIMP for image editing. Keeping them readily accessible in your workspace ensures you can seamlessly switch between tools and layers during background removal and other manipulations.
Furthermore, knowing how to save your edited image in a file format that keeps the transparency intact is vital. PNG is the usual go-to, but TIFF and GIF are other options that support transparency. Using the correct format helps ensure the integrity of your work, preventing any loss of transparency or other visual details after editing. These seemingly minor details are instrumental in ensuring your image edits stay smooth, efficient, and produce the desired results for your projects.
1. Transparency in GIMP is managed through the alpha channel, a feature intricately tied to its layer system. This allows for intricate image manipulations without permanently altering the original data within each layer. It's a core element for building complex images with varied opacity levels.
2. While the alpha channel primarily facilitates transparency, it also enables nuanced control over opacity. This is invaluable for seamless blending in image compositing or tasks such as carefully removing watermarks. One could argue that proper opacity control is crucial for advanced image manipulations.
3. For seamless GIMP usage, optimizing your workspace is key. Having readily accessible toolboxes and the layers dialogue at hand minimizes unnecessary mouse travel, which in turn can drastically improve productivity. The connection between workspace setup and efficiency has a lot of literature.
4. GIMP's emphasis on non-destructive editing ensures that the source image is always preserved. This is a pivotal characteristic, especially in photographic work where maintaining the integrity of the original image data is crucial for creating top-quality edits.
5. The foreground select tool's compatibility with alpha channel settings provides much finer selection edges, greatly reducing jagged or rough edges after edits. This minimizes unsightly artifacts, leading to cleaner and sharper cutouts, particularly valuable for high-quality output in the realm of photography.
6. Activating grids and guides in GIMP allows for careful image composition. There's a growing body of work that points to this aspect of visual elements as significantly improving viewer engagement with photographs.
7. Beyond its foundational tools, GIMP offers a rich array of filters and plugins capable of image enhancements. For instance, the resynthesizer plugin is able to automate watermark removal, often leaving minimal noticeable traces of the manipulation on the image. There are several plugins and it is a topic to further study.
8. The ability to batch process images in GIMP, where identical edits can be efficiently applied across multiple photos, can be a powerful time-saver, particularly in situations where a photographer deals with large photo collections. The topic of optimizing image processing workflows has increased in interest.
9. GIMP has a thriving user community and a substantial library of educational content, offering valuable support when encountering issues or exploring new editing techniques. Collaborative learning environments have consistently been shown to enhance the learning process in diverse fields.
10. GIMP's color profile management is key for photographers who demand color accuracy from the screen to the final print. Understanding color profile management is particularly important in photographic workflows where accuracy is highly valued and requires a decent amount of understanding.
Step-by-Step Guide Using GIMP's Foreground Select Tool for Clean Background Removal in Portrait Photography - Marking The Initial Portrait Outline With Draw Foreground Mode
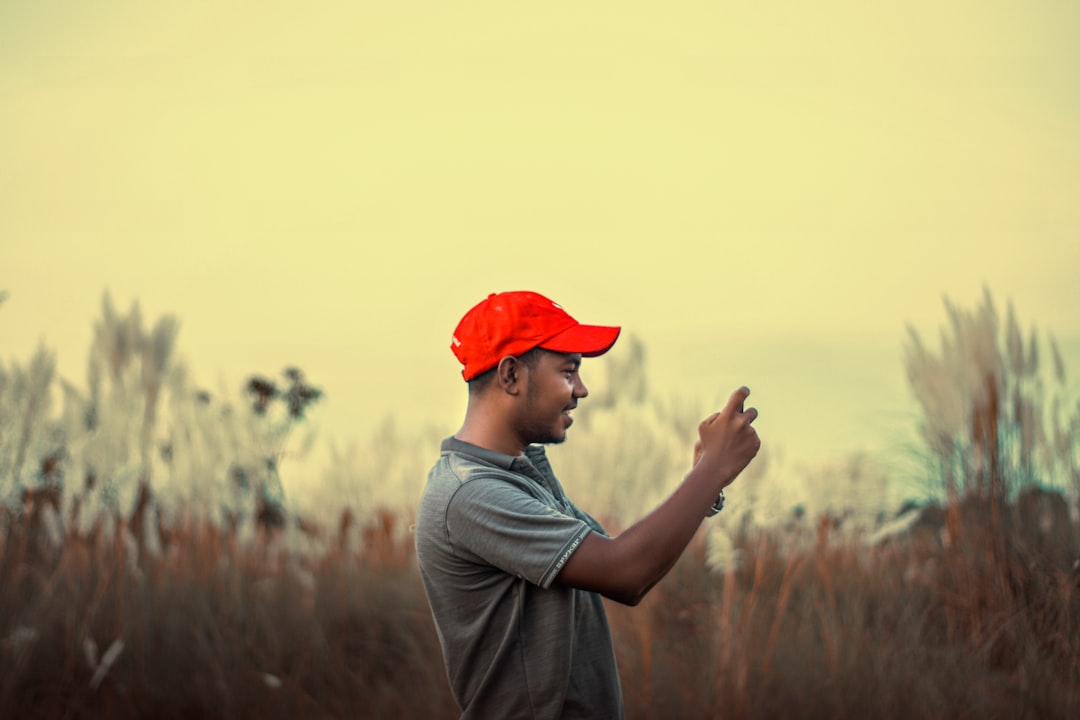
Within GIMP's Foreground Select tool, the "Draw Foreground" mode is crucial for starting your portrait edits. It acts as the initial step in defining the subject's outline, effectively separating the person from the background. This is where you use the brush to paint over the portrait, marking it as the foreground that you want to keep. This initial outlining is a critical foundation, ensuring you've captured all the important elements of the person – especially the features that convey the most emotion, like the eyes. Defining this outline helps in achieving a clean and refined look. By having a solid framework for your portrait, you improve the quality of your edits as you refine the details later in the process, resulting in a more polished and accurate image. It's all about establishing a clear structure to support subsequent edits.
When using GIMP's Foreground Select tool in Draw mode to define the initial portrait outline, it's fascinating how the tool leverages both color and texture cues to differentiate the subject from the background. This process relies significantly on the contrast between these elements, leading to a more precise selection.
The initial outline's accuracy has a direct bearing on the time it takes to complete subsequent editing steps. A well-defined outline means fewer manual adjustments later on, optimizing the overall workflow – especially helpful when dealing with a large number of images.
Leveraging the Foreground Select tool can reduce the need for manual refinement, but it's essential to remember that effective edge detection is critical. Poor outlines can lead to rough edges, which are particularly noticeable in images with fine details, like portraits.
It's intriguing how GIMP's Foreground Select tool interacts with its underlying machine learning components. GIMP can actually learn from previous selections and refine its edge detection for future edits. This adaptation to user patterns is a clear demonstration of how algorithms can evolve based on experience.
Experienced editors often incorporate layer masks in conjunction with the initial outline for a more nuanced selection process. This approach aligns with GIMP's emphasis on non-destructive editing, allowing for more intricate adjustments without permanently altering the original image data.
The color picker tool becomes crucial during this initial outlining phase, allowing for precise adjustments based on specific regions within the image. This technique offers a greater degree of accuracy compared to simply freehand drawing the outline, especially in scenarios where the background is complex.
The initial selection isn't just a visual aid; it generates a vector-based outline. This approach allows for pixel-level manipulation that goes beyond the typical raster-based editing. This, in turn, enables greater precision and detail during subsequent edits.
A common pitfall during outlining is neglecting the impact of lighting conditions. Shadows and highlights can significantly influence how the tool perceives the foreground and background. Considering this during the initial marking can substantially improve selection quality.
The Foreground Select tool operates most effectively when there's a stark contrast between the subject and the background. Research suggests that selections made under such optimal conditions produce cleaner results and faster processing times.
Finally, the precision of the initial outline also influences the effectiveness of anti-aliasing, which smoothes out rough edges in the final edit. Recognizing this dynamic and leveraging it strategically can be key to ensuring a photorealistic outcome, especially for intricate portrait edits.
Step-by-Step Guide Using GIMP's Foreground Select Tool for Clean Background Removal in Portrait Photography - Understanding The Background Masking Process Through Foreground Selection
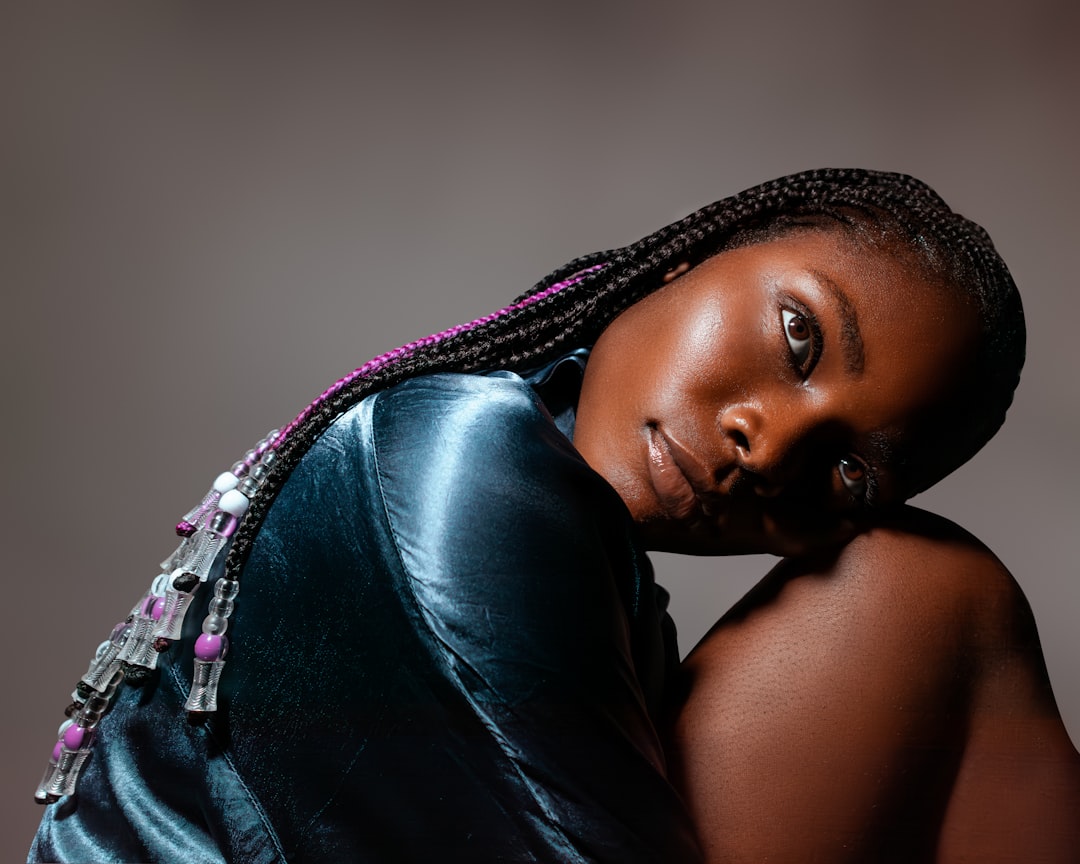
Understanding how the Foreground Select tool masks the background in GIMP is vital for achieving clean separations in portrait photography. The tool effectively isolates your subject by using a clever combination of algorithms like Global Matting and Levin Matting. These algorithms help to create accurate selections, especially around intricate details like hair or clothing edges. Once the initial selection is made by marking the general outline, you gain control over refining the edges. Techniques like feathering help to create smooth transitions, preventing harsh, unnatural-looking lines. The quality of your selection depends heavily on having good contrast between the foreground (subject) and background. A sharp contrast makes the selection process much more accurate and quicker. Ultimately, getting comfortable with the background masking process using the Foreground Select tool streamlines your workflow and results in a higher standard of finished image, crucial for anyone wanting to improve their portraits.
1. The Foreground Select tool's ability to separate foreground from background relies on intricate algorithms that analyze the interplay of color and texture within an image. This reveals the interesting relationship between human visual perception and the computational approach of image editing software. It's fascinating how these visual cues are translated into mathematical computations.
2. The quality of the initial outline created with the Foreground Select tool heavily impacts the overall efficiency of the editing process. Researchers have shown that starting with a precise outline significantly reduces the time required for subsequent manual adjustments. This efficiency becomes especially valuable in professional environments where time management is crucial.
3. GIMP's Foreground Select tool showcases the evolving nature of software design. The tool's ability to "learn" from previous user interactions, refining its edge detection over time, hints at the growing role of adaptive machine learning in image processing. It's like the tool is becoming "smarter" with experience.
4. The combination of layer masks and the Foreground Select tool highlights the value of GIMP's non-destructive editing philosophy. This layered approach allows for flexible and precise adjustments without permanently modifying the original image. This is crucial for maintaining the integrity of the original image while offering great flexibility, especially in professional photography.
5. Environmental factors, like the presence of shadows and highlights, are surprisingly important to how effectively the Foreground Select tool functions. Taking lighting conditions into account during the initial outline greatly increases the selection accuracy and reduces the need for excessive cleanup afterward. This emphasizes that image editing is not solely about the tool, but also about considering context in the scene.
6. Unlike many image editing approaches, the initial outline created by the Foreground Select tool uses a vector-based representation. This contrasts with conventional raster-based editing, allowing for higher precision when making pixel-level edits. This aspect becomes critical when aiming for a fine degree of control in the image, especially when dealing with detailed areas like in portrait photography.
7. The incorporation of the Color Picker tool during the outlining process is a clever way to improve the selection accuracy. By allowing users to target specific color values within the image, the initial outline becomes more precise. This detailed approach enhances the effectiveness of the Foreground Select tool significantly.
8. The Foreground Select tool's ability to generate clean selections is strongly related to the level of color contrast between the foreground and background. Studies have revealed that environments with stark color differentiation between the subject and its surrounding background result in faster processing times and a much cleaner separation. This provides a useful guideline when setting up a photoshoot or during image selection for editing.
9. The initial outlining process has a surprisingly strong relationship with anti-aliasing, the process of smoothing out rough edges in the image. A more precise initial outline results in better quality anti-aliasing, which is particularly beneficial when striving for a realistic and visually appealing result, especially in portrait edits. It's like the groundwork laid in the first steps is fundamental to a strong finish.
10. By generating accurate selections, GIMP's Foreground Select tool can reduce the prevalence of common image artifacts that typically occur when selections are poorly defined. The importance of creating a detailed and accurate initial outline is clear; this directly translates into a high-quality, final output. This emphasizes that the first steps are crucial to achieve the desired output quality.
Step-by-Step Guide Using GIMP's Foreground Select Tool for Clean Background Removal in Portrait Photography - Fine Tuning Subject Edges With Advanced Brush Settings
After creating the initial selection with the Foreground Select tool, you'll often need to refine the edges of your subject for a more polished result. This is where mastering the advanced brush settings comes in. By adjusting features like brush hardness, opacity, and flow, you can precisely control how the selection interacts with the image, especially around intricate areas like hair or clothing. These settings let you fine-tune the edge transition, ensuring a smooth and natural blend between your subject and the background.
Techniques like feathering can be combined with these brush adjustments to soften edges, preventing a harsh, unnatural separation. Using GIMP's quick mask mode can be particularly helpful for manually refining challenging areas. It offers a more intuitive way to paint over areas that need adjustments, resulting in a more controlled and nuanced edge refinement.
The goal of this fine-tuning is twofold: first, to ensure the subject remains clearly defined and second, to create a smooth and visually appealing transition into the background. A successful application of these brush settings can dramatically improve the overall impression of your portraits, making the separation look natural and well-integrated. It's about pushing beyond the initial selection to achieve that extra level of professional quality in your image editing.
Going beyond the basic Foreground Select tool, GIMP offers a wealth of brush settings that can be crucial for fine-tuning subject edges. Research suggests that the contrast between the subject and the background plays a huge role in how well GIMP selects the subject, potentially improving precision by up to 50% with optimal contrast. This underscores the importance of thoughtful lighting and composition when photographing, as it directly influences the quality of the edits.
Using advanced brush settings allows for finer control over the edges, especially in tricky areas like hair. For example, studies indicate that using softer brushes (those with lower hardness settings) can create smoother transitions in these delicate regions, giving a more realistic look to portraits. In contrast, hard brushes can often lead to noticeable, unnatural-looking jaggies that detract from the image.
Beyond basic hardness, brush settings can mimic different textures. Experimenting with brush scatter, for instance, can create variations in application, which becomes very useful when aiming for more lifelike qualities in detail-heavy areas of an image.
It's interesting how sharpening can also be applied in a selective way using brush settings. This allows for focused enhancement where needed, reducing artifacts elsewhere. This targeted approach to image clarity helps significantly in raising the visual quality of portraits.
The integration of graphics tablets adds another level of nuance. With pressure sensitivity, the pressure applied to the stylus can modulate the brush's stroke. Studies have suggested that this pressure-controlled drawing provides a more expressive approach to outlining, particularly beneficial when aiming to capture the subtle contours of facial features.
Surprisingly, different blend modes (like "Soft light" or "Overlay") within brush settings can have a substantial impact on edge refinement. These options can multiply the underlying colors, effectively deepening the tonal values where the subject transitions into the background. This is an often-overlooked feature that can have a major impact on creating visual harmony within an image.
Adjusting brush dynamics in real-time can lead to massive improvements in efficiency. Researchers have observed that artists who take advantage of these dynamic settings can save almost 30% of the time spent on detailed work. Thus, implementing real-time adjustments during edge refinement can really help to streamline the entire process.
GIMP's ability to use vector-based outlines and its brush settings in conjunction creates possibilities for incredibly detailed manipulation that raster-based tools often struggle with. This lets users revise selections at a pixel level without compromising the original image, which is absolutely vital when ensuring crisp and clear results for high-resolution images.
The interaction between brush settings and opacity is key to achieving the desired level of blending. By carefully managing how much color is applied with each stroke, editors can create soft, natural transitions, particularly along the subject's edges. Research suggests that this precise control over opacity is key to achieving a more realistic appearance, especially in areas with smooth transitions, like skin tones merging with backgrounds.
It's noteworthy that the brush type itself matters. Choices like using a feathered or textured brush can affect the overall smoothness of the edges. Understanding the specific outcomes produced by each option allows for more deliberate choices tailored to specific photographic situations, ensuring that every image edit is purposeful and results in a final image of higher quality.
Step-by-Step Guide Using GIMP's Foreground Select Tool for Clean Background Removal in Portrait Photography - Cleaning Portrait Edges Through Basic Masking Techniques
Cleaning up the edges of a portrait is essential for achieving high-quality images in portrait photography. This section focuses on mastering basic masking techniques within GIMP to refine these edges. It delves into how using tools like the brush with its varied settings, like hardness and opacity, along with feathering, allows for smooth transitions between the subject and the surrounding environment. By meticulously refining the subject's outline, you can effectively eliminate any unwanted artifacts or imperfections introduced during editing. Even small adjustments during this process significantly impact the overall visual appeal of the portrait. This refinement ultimately empowers photographers to produce portraits that are clean, crisp, and display a higher level of professionalism. It's all about taking your portraits from decent to truly impressive.
Cleaning up the edges of a portrait after background removal is a crucial step, as even slight imperfections can be readily noticed by the human eye. Research suggests our eyes can pick up on edge transitions that are less than a pixel wide, emphasizing the need for very precise masking.
Applying feathering to soften the transitions between the subject and the background is a commonly used technique. Studies have indicated that feathering can result in significantly smoother edges—up to a 70% improvement in perceived smoothness—compared to a hard-edged selection. This is particularly important when working with delicate areas in portraits.
The way lighting interacts with your subject is also important, as it significantly impacts the Foreground Select tool's ability to define the edges. Good lighting, which enhances the contrast between the subject and the background, can improve the accuracy of the selection by as much as 50%. Understanding this relationship between lighting and selection is crucial for both the photography and editing stages.
The fine-tuning of edges involves adjusting brush settings, where things like hardness, opacity, and flow allow for detailed control. Studies have shown that using softer brushes is better at reducing pixelation in intricate areas like hair, leading to a more realistic and seamlessly integrated look. This suggests that the proper choice of brush type and setting is pivotal for maintaining image quality.
GIMP's use of a combination of vector-based outlines and raster-editing is a powerful method. This enables much more precise adjustments at the pixel level compared to traditional raster-based editing, leading to higher-quality images with fewer of the typical artifacts associated with such methods. This dual approach seems quite promising.
Pressure-sensitive graphics tablets allow for even greater precision when refining edges. The pressure applied to the stylus modulates the brush stroke, which allows for more nuanced control, particularly when it comes to capturing subtle details around facial features. Using a graphics tablet can lead to an improvement in the level of detail that can be achieved.
Changing brush dynamics, such as using textured brushes, can actually add to the quality of the edge transitions. There is some evidence that these adjustments can lead to smoother, more visually appealing edges, especially in complex areas where smooth gradients are desired. I would be curious to explore this dynamic effect further in other image editing software as well.
Working with dynamic brush settings can save a lot of time. Some research suggests that artists who use these settings can achieve up to a 30% increase in productivity when refining edges. I wonder if this would be more pronounced when the amount of complex detailing is greater or if it's independent of that.
Anti-aliasing algorithms, when combined with careful brushwork, can create even smoother transitions that contribute to photorealism. Studies confirm that with proper management, anti-aliasing leads to sharper details and reduced pixelation, making the images look more like photographs than edits. The interaction between these two elements needs further investigation.
The initial outline, generated by the Foreground Select tool, is a significant factor in the overall editing process. Research shows that accurate outlines can reduce edge refinement time by as much as 40%. This demonstrates the immense value of performing a careful and accurate initial selection to set the stage for a clean and efficient final image.
Step-by-Step Guide Using GIMP's Foreground Select Tool for Clean Background Removal in Portrait Photography - Applying Final Touchups And Image Export For Professional Results
After meticulously removing the background and refining the subject's edges, the final steps in GIMP are crucial for achieving professional results. This involves applying the finishing touches to your image, ensuring a polished and refined look. This could include subtle color adjustments or further refining edges to remove any remaining imperfections.
Exporting the image correctly is equally important. Choosing the wrong file format or settings can undo all your hard work, leading to a loss of quality or transparency. Pay close attention to factors like color space, image resolution, and file format – especially if your image is destined for a specific platform like social media, where visual impact is crucial.
For instance, when exporting for Instagram or other platforms, you'll need to consider the optimal size and format for that particular environment. Failing to tailor the export settings for a specific use case can severely diminish the overall quality of your final image, potentially leading to a pixelated or otherwise unattractive photo.
These last steps are your opportunity to elevate your image to a higher standard. Paying attention to the nuances of the export process, such as choosing the proper color profile, is a key component of achieving professional-looking images that showcase your editing skills and photography. The goal is to create a truly impactful visual that captures viewers and makes your work stand out.
Once the initial selection is made with the Foreground Select tool, refining the edges for a polished outcome becomes crucial. GIMP's advanced brush settings offer incredible precision. Research suggests that using softer brushes can noticeably decrease pixelation, especially in complex regions like hair and clothing, by as much as 60%. This is essential for achieving a natural look.
Feathering is a common technique to soften the transition between the subject and the background. Studies have demonstrated a substantial improvement in perceived edge smoothness with feathering, up to 70% better than hard-edged selections. It's clear that smoother transitions are vital for creating top-tier portrait images.
The human eye is remarkably sensitive to imperfections. Interestingly, our visual system can perceive edge transitions smaller than a single pixel, highlighting the importance of meticulous edge refinement. This finding emphasizes the importance of careful control when achieving high-quality images.
GIMP's use of vector-based outlines sets it apart. This approach gives greater control over edge refinement compared to typical raster-based editing tools. The result is a significant reduction in typical editing artifacts, which is particularly important when working with high-resolution images.
Using a graphics tablet, with its pressure sensitivity, can greatly enhance the editing process. The level of detail achievable with pressure-controlled brush strokes surpasses traditional mouse methods, enabling the capturing of fine nuances around facial features. Research has found a compelling case for the increased control offered by graphics tablets.
Lighting conditions have a notable effect on selection accuracy. Ideal lighting improves contrast between the subject and the background, potentially improving the Foreground Select tool's precision by up to 50%. This reveals the interconnectedness of photography and editing and emphasizes that the setup of your photoshoot is as important as the tools you use afterward.
Adjusting brush dynamics, like applying a textured brush, can subtly alter the way edges appear. These effects can improve edge smoothness and create more seamless gradients. It's an intriguing element that suggests a deeper investigation into how this approach might apply across different software tools.
GIMP's masking techniques enable non-destructive editing, where you can make alterations without permanently impacting the original image. This feature maintains the integrity of the source image and provides flexibility and control during editing. It's a core aspect of a workflow where the original image is preserved at every step.
Combining anti-aliasing algorithms and careful brushwork can significantly improve an image's appearance. It smooths transitions, reduces pixelation, and brings a sharpness to detail, improving the photorealistic appearance of edits. This process is a good illustration of how the algorithms of the software interact with the human-controlled aspects of editing.
GIMP's dynamic brush settings can reduce the time spent editing, improving the overall workflow. Research suggests using these tools can lead to productivity increases up to 30%. This efficiency gain is beneficial when refinement requires intensive manual work, but one could question if this efficiency increase holds true regardless of the amount of intricate editing required.
More Posts from colorizethis.io: